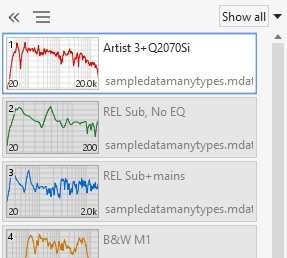
The Measurements Panel shows the measurements which have been made or loaded and information about them, including a thumbnail of the frequency response. The name of the file the measurement was loaded from or has been saved to (if it has been saved) is also shown. Individual measurements are selected by clicking on them. Measurement notes can be shown in the list using the View preference Show measurement panel notes or by hovering the mouse over a measurement, when they will appear in a tooltip.
Measurements can be rearranged by dragging them to a new position in the list, either individually or by selecting multiple measurements by Ctrl+left click or Shift + left click and dragging the group. If the measurement list has focus (blue border around the current selection) keyboard shortcuts to select all (Ctrl+A), cut (Ctrl+X) and paste (Ctrl+V) may also be used. Pasted measurements are placed before the currently selected measurement or, if there is no current selection, at the end of the list.
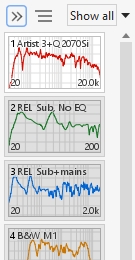
The measurement panels can be made narrower to provide more screen area for the graph, click the << button to narrow the panel.
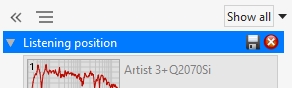
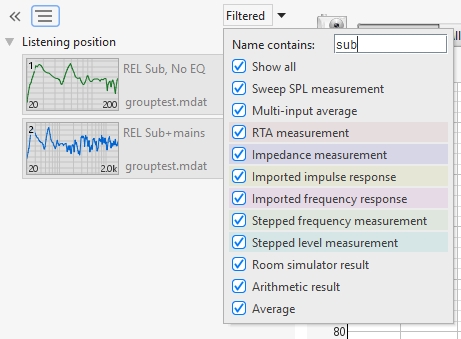
Measurements can be assigned to groups to help manage long lists of measurements. The groups can be expanded or collapsed by clicking on the arrow next to the group name. Groups appear in alphabetical order, ahead of any measurements that are not in a group. Groups may have a colour assigned to them.
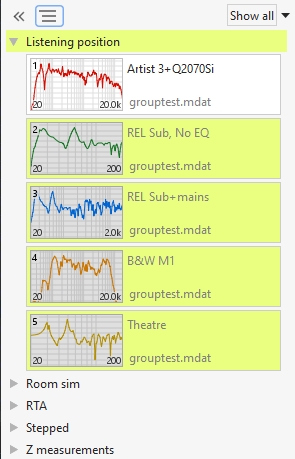
Clicking on a group shows buttons to save or remove the measurements in the group.
The measurement right click menus have Add to group actions to assign a measurement or all the currently selected measurements to a group.
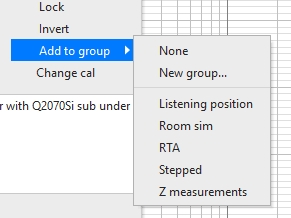
The New group... brings up a dialog to provide a name for the new group and optionally assign the group a colour and add some notes.

The groups button  brings up a menu of group actions.
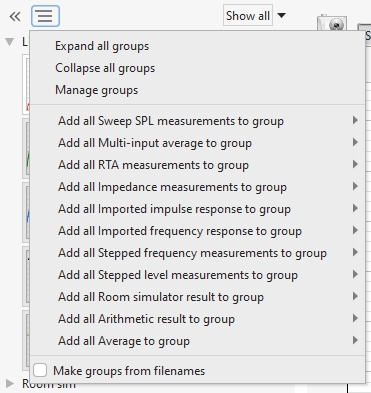
The various Add all... entries allow measurements of different types to be assigned to a group.
The Make groups from filenames option will generate groups with the names of the currently loaded files (and any new files as they are loaded) and put the measurements in the corresponding group unless the measurements are already in a group.
The groups menu for overlay graphs (including All SPL) has a different option, Select group measurements on expand. If that option is selected all measurements in a group will be selected when the group is expanded, otherwise the measurements will initially be unselected and afterwards will restore their previous selection state.
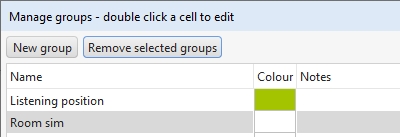
The Manage groups action brings up a table of all the groups REW has seen, allowing their names to be edited by double-clicking on a table cell. Rows of the table can be selected and the corresponding groups removed if they are no longer wanted. The table can be resized.
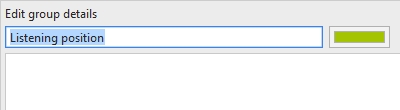
Right clicking on an individual group entry brings up a panel to edit the group's title and/or notes. Ctrl+TAB and Ctrl+Shift+TAB can be used to tab between the fields and cycle through the various groups currently loaded. The group notes can be formatted with bold, italic or underline text by selecting the text and using the buttons below the panel. Links can be included by typing or pasting the link and pressing space.
The list of measurements can be filtered to only show some types of measurements or measurements whose names contain the entered text. The background of some measurement types is tinted to help distinguish them, unless they are part of a group which has its own colour.
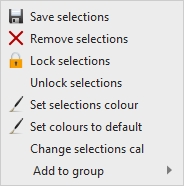
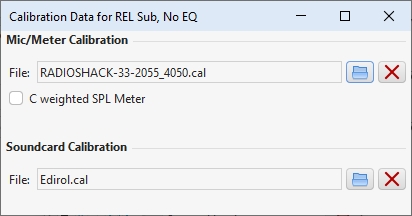
Right clicking on a measurement panel brings up a set of controls to save, remove, change the trace colour, lock the measurement, add it to a group, change the measurement's name, view and edit its notes and apply other actions. The panel also shows the mic/meter and soundcard calibration files that were used (hover the mouse over that text area to bring up a tooltip that shows the full text width). When the panel opens the measurement name will be selected, ready for editing. Use Ctrl+TAB to move from the name to the notes area. Ctrl+TAB again will update the panel for the next measurement in the list, wrapping around at the end. Use Ctrl+Shift+TAB to move backwards through the panel/list. To quickly edit just the measurement's name right click over the name area, a text field will be shown to edit the name.
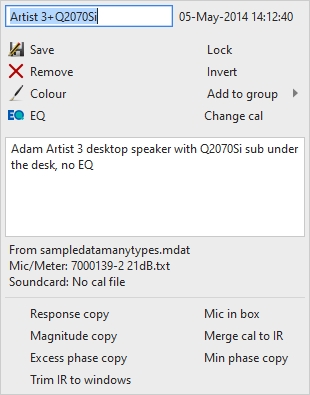
The text box at the top of the right click panel is used to change the name of the measurement. The length of the name is limited to the width of the box. If a blank name is entered, "No Description" is used. The name is shown in blue for new measurements or measurements with unsaved changes.
Locked measurements cannot be deleted, the remove action is disabled and a padlock icon is shown on the measurement panel. All measurements can be unlocked via thee Unlock all measurements action or by using the Ctrl+U shortcut. The Ctrl+L shortcut locks the currently selected measurement.
The other actions for each selected measurement are:
Right clicking on a measurement panel after multiple measurements have been selected (by Ctrl+left click or Shift+left click) brings up a set of actions to save, remove, lock, unlock, enable, disable, change colour or change cal data for the selected measurements.